My Country Rustic Pinterest Wedding
/ After spending time composing an entire post, it was somehow accidentally deleted. So for that reason, I’m going to give you the cliff-notes version of My Country Rustic Pinterest Wedding. Here’s how it turned out:
Reasons to Use Pinterest:
1. Save money
2. Place to keep ideas for easy access
3. Instant inspiration
4. Save money
5. Great way to share your ideas with others
After spending time composing an entire post, it was somehow accidentally deleted. So for that reason, I’m going to give you the cliff-notes version of My Country Rustic Pinterest Wedding. Here’s how it turned out:
Reasons to Use Pinterest:
1. Save money
2. Place to keep ideas for easy access
3. Instant inspiration
4. Save money
5. Great way to share your ideas with others
Reasons to DIY: 1. Save money 2. Customize your event or wedding for a fraction of the cost 3. You can be proud of your work and your contribution to your day
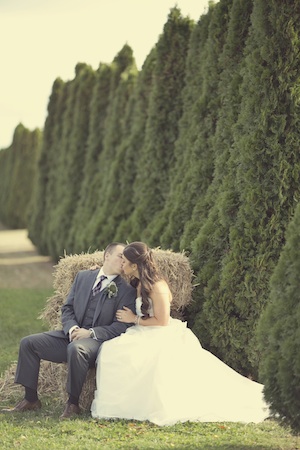
Some of the photos were taken by our amazing wedding photographers Alexis Stein Photography while others were taken using my iPhone. A big Thank You to our wedding photographers for taking the most amazing photos to help us save these memories for a lifetime.
Take a peak at my Pinterest Wedding Inspiration Board
1. Invitations For these I didn’t DIY them myself, but someone else did. I found these totally perfect, elegant yet rustic wedding invitations on Etsy and instantly knew we had to have them. We did in fact have to glue on the little flowers and of course assemble the contents and apply stamps.

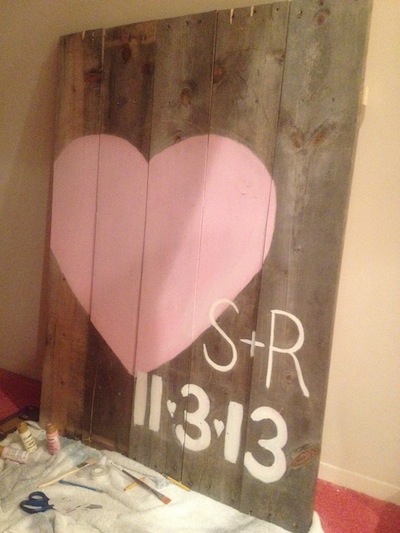
2. Wedding Signs No rustic/country wedding is complete without wedding signs and we had a handful of them! The small wedding sign was made with cheap lumber we bought from Home Depot and $0.99 cent paint I got from Michael’s with a 40% off coupon. The larger “heart” board was made with reclaimed wood and again, the cheap paint. There’s tons of inspiration for these boards on my Pinterest board which you can access here.

3. Paper Goods I knew I wanted to put something special at every place setting to let our guests know we were thinking of them and that we appreciate them. Then I came across this post on Pinterest and thought I could definitely recreate it on my home computer. So that’s what I did - complete with the same bird silhouette.

I also wanted to make sure our guests were present during our ceremony, rather than fiddling with their phones or cameras. So I made these “welcome” cards that were handed out just before the ceremony as guests were arriving. These too were a recreation of a post I saw on Pinterest.
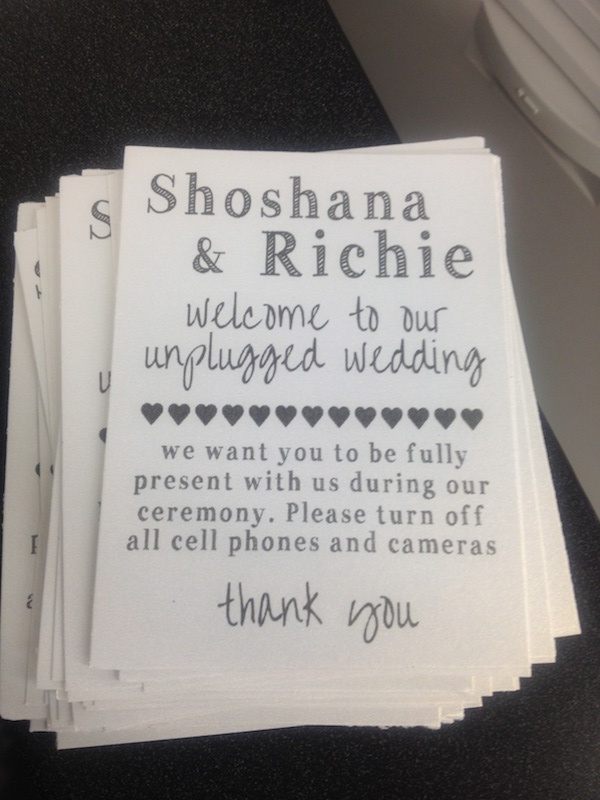
All of the paper goods were printed at home using some glimmery cardstock I bought at Michael’s with a 40% off coupon.
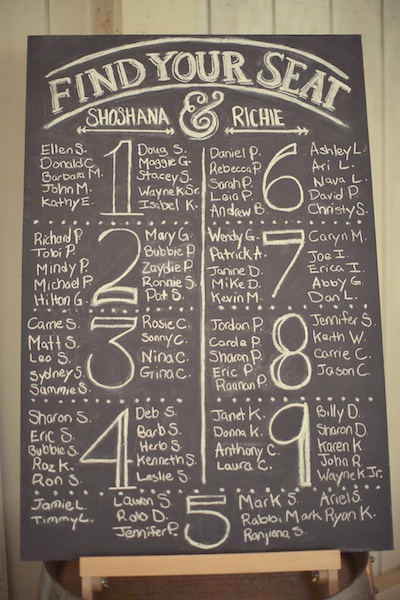
4. Chalk Boards Again, what country rustic wedding would be complete without chalkboards?! Not ours because we had loads of them! I made pretty much all of these chalkboards myself using chalk paint that I already had and masonite board we got from Home Depot that we had cut down to poster size. Then I drew on all of them - freehand. It took hours, but I really think they came out perfect.

5. Cards Basket When trying to figure out how we were going to collect wedding cards without spending a ton of money, a basket I found in my aunt’s basement that was shaped like a small suitcase or picnic basket was perfect! We printed letters on the same cardstock that I used for the paper goods and strung them along using some baker’s twine. It came out perfect don’t you think?

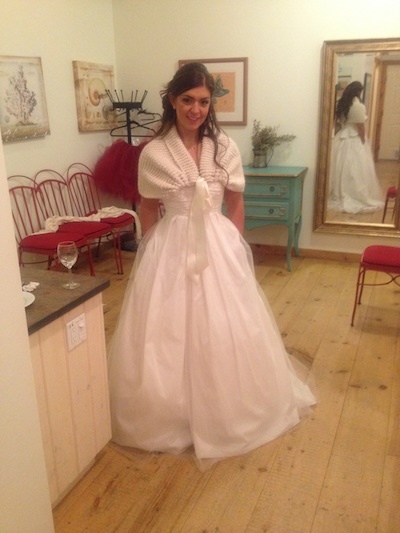
6. Wedding Shawl My wedding was in the beginning of November in Long Island, NY, and my dress was strapless. So it was likely I may be chilly at some point in the evening. I came across this beautiful crocheted shawl on Pinterest that led me to a vendor on Etsy. And then I remembered that may aunt also crochets. She happily made this replica shawl for me and it’s even more beautiful than I had imagined. We picked out the yarn at a local store and adorned it with wide ribbon. It came out perfect. This is the only photo I have of me with the shawl on. It was in the bridal suite at the venue just after the ceremony ended.
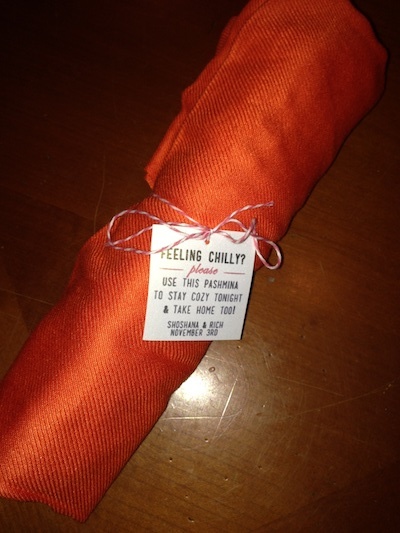
7. Favors Since I knew it’d be a bit chilly at our outdoor November wedding, I opted for pashminas and handwarmers for our guests to use and take home. There are tons of inspiration pins on my Pinterest board. For the pashmina tags, I created them using Photoshop on my home computer and the same cardstock I used for the other paper goods.

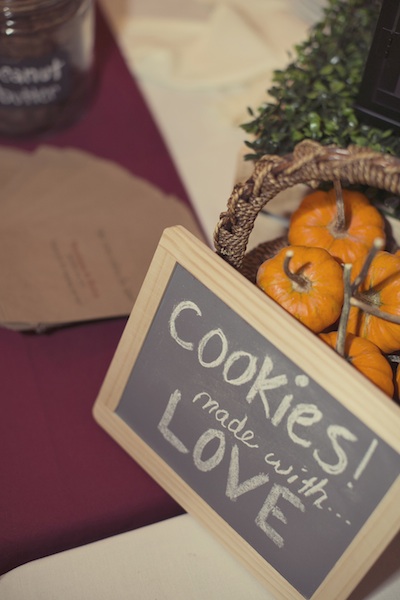
For dessert my mom and I baked cookies. We had a total of 7 flavors I believe. They were delicious! I bought some small kraft paper bags online and printed on them at home. The phrase was something like “take some cookies to go,” so the cookies were also a favor item. Here is the inspiration post.


8. The Cake The moment I laid my eyes on a Naked Cake I knew we had to have it. We used Junda’s bakery in Jamesport, NY who did a fabulous job making our vision a reality. The cake was red velvet with cream cheese icing and was adorned with succulents. I can’t wait to eat the top at our one year anniversary! I’m still in love with my wedding cake to this day.

9. Centerpieces Wood slabs and mason jars = winning combination. Whodathunk a wood slab would cost so much - even online?! They were upwards of $41 a piece not including shipping. So my girlfriend in Wyoming chopped some wood and made them for me! I paid for shipping - $75 for 10 gorgeous handmade wood slabs that were perfect as part of our country rustic wedding.

The jars, I saved a bunch of peanut butter jars, my sister saved baby food jars, and I purchased the quart size mason jars at Wal-Mart for like $8. I have them in my pantry now being used for dry goods and other things.

10. Flower Girls Tutus Little girls and tutus go hand in hand. I must have pinned a dozen inspiration posts on Pinterest for flower girl outfits. I ended up going with Tutu Garden tutus (with matching sash) and ballerina long sleeve leotards in white. The girls all wore gold shoes and white tights. They were beyond adorable. It was difficult to get the girls to pose for photos, so this is the best we got (there was a fourth flower girl who did not make it into this photo or any group shot).

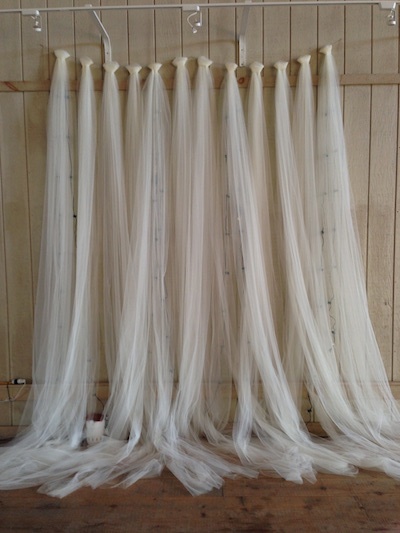
11. The Backdrop Since our venue was basically a blank canvas (large open barn type of setting at Martha Clara Vineyard in Riverhead), we really needed to spruce up the wall behind the sweetheart table. I came across this post on Pinterest and knew it could be done. I ordered a bunch of ivory tulle online at Saveoncrafts.com and shopped for white string lights the day after Christmas (I paid less than $3 a box for 6 boxes of string lights - win!). We used nails and baker’s twine to hang the tulle from the wall, and placed the lights behind for some drama. It turned out just gorgeous and I’m so proud of this DIY project!


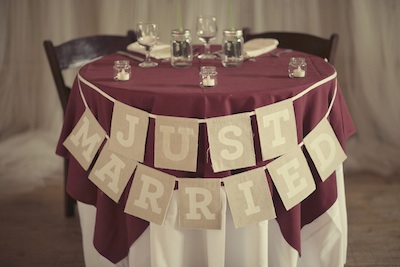
p.s. The sign on our sweetheart table said "Just Married" and I bought it at Michael's for like $9.99 plus a 40% off coupon, lol.
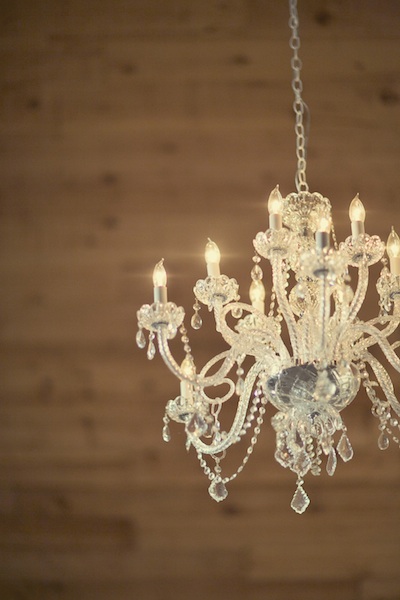
12. Lighting The only reason we were able to afford chandeliers and amber uplighting around the room is because I split the bill with the bride who had her wedding on the Friday before mine (my wedding was on Sunday). If you know there is another wedding at your venue the same weekend as yours, find out what their decor is and find out if the other bride is willing to share. You can both save some money and enjoy something you may not have been able to afford otherwise. We sure did!
Thanks for checking out my special day! I'm so proud of how everything came together just perfectly. How did you put your personality stamp on your wedding or future wedding? I love hearing about wedding stuff so please share your thoughts in the comments below!
Note: all original posts from April 2013 through March 2014 were accidentally deleted. This is a repost.